公共场所wifi认证解决方案wifidog+authpuppy(1)
服务器:ubuntu 14.04 + authpuppy
路由器:MERCURY MW4530R + wifidog
一、安装authpuppy服务端验证
1、 安装php开发环境:
sudo apt-get install apache2 php5-mysql libapache2-mod-php5 mysql-server
2、 启用apache rewrite,否则会出现(Therequested URL /install/3 was not found on this server.)错误
sudo a2enmod rewrite
3、 到https://launchpad.net/authpuppy 下载最新源码authpuppy-1.0.0-stable,解压并剪切到/var/www/html/authpuppy目录
sudo mv authpuppy /var/www/html/authpuppy
4、 为authpuppy赋予权限
chmod 777 /var/www/html/authpuppy/ -R
5、 修改/etc/apache2/sites-enabled/000-default.conf替换所有内容
sudo gedit /etc/apache2/sites-enabled/000-default.conf
如下:
<VirtualHost *:80>
       ServerAdmin webmaster@localhost
       ServerName authpuppy.localhost
       ServerAlias authpuppy.test

       DocumentRoot /var/www/html/authpuppy/web
       DirectoryIndex index.php
       <Directory /var/www/html/authpuppy/web/>
               Options Indexes FollowSymLinks MultiViews
               AllowOverride All
               Order allow,deny
               allow from all
       </Directory>

       Alias /sf /var/www/html/authpuppy/lib/vendor/symfony/data/web/sf
       <Directory "/var/www/html/authpuppy/lib/vendor/symfony/data/web/sf">
               AllowOverride All
               Allow from All
       </Directory>

       #ErrorLog /var/log/apache2/authpuppy/error.log

       # Possible values include: debug, info, notice, warn, error, crit,
       # alert, emerg.
       LogLevel warn

       #CustomLog /var/log/apache2/authpuppy/access.log combined

  </VirtualHost>
6、 重启apache
sudo service apache2 restart
7、访问http://localhost 出现authpuppy配置页面
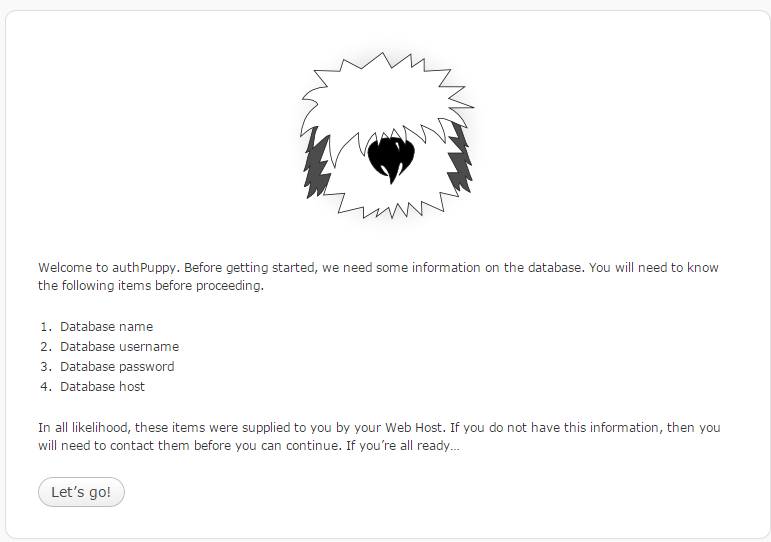
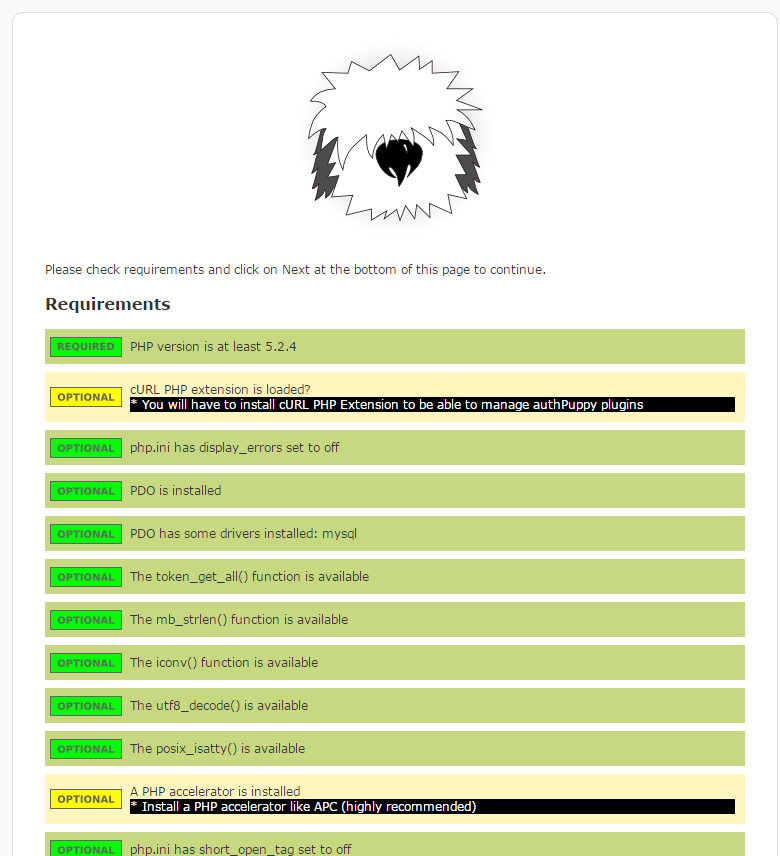
8、 点击下一步继续,这一步会检测系统的环境是否满足authpuppy的要求,不满足的会显示红色,按要求配置好就可以点击下一步了。
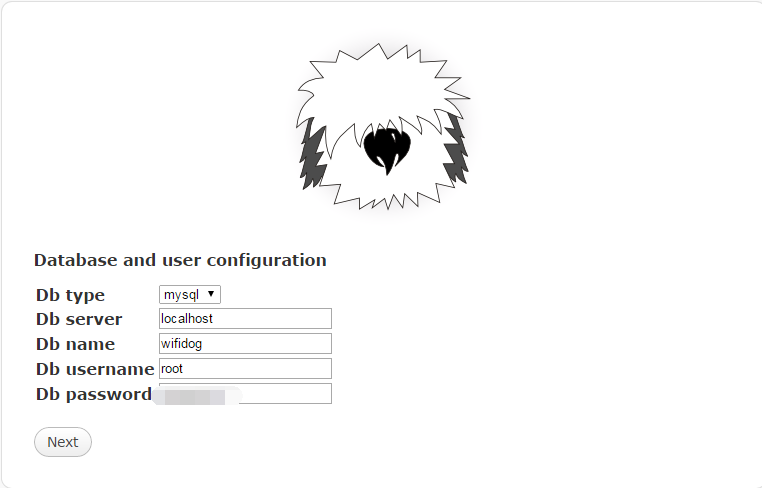
9、创建数据库wifidog,并填写数据库名字、账号密码等信息,此处为了方便,使用root登录,读者可以新建一个user用于访问。
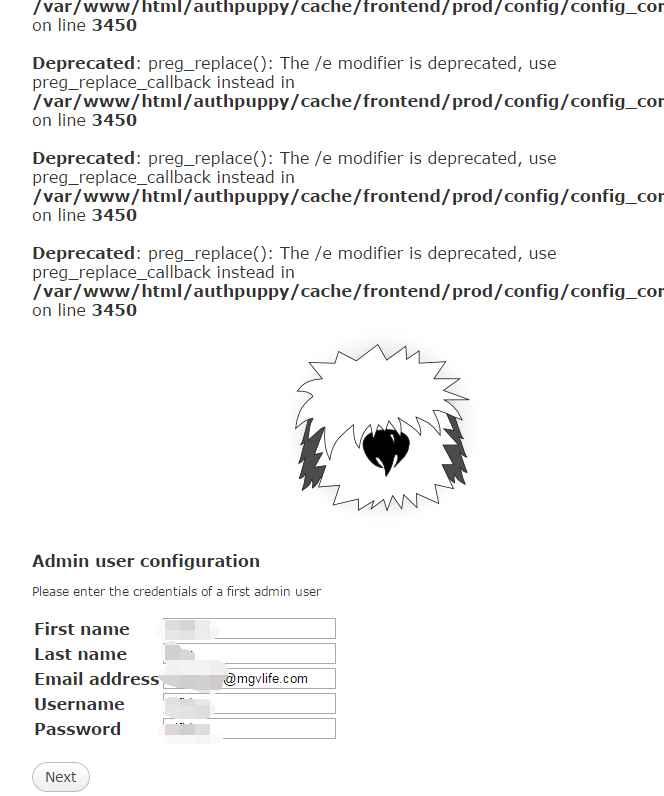
10、一直点击下一步,直到出现管理员用户配置页面,配置用户信息:
11、 最后配置成功,出现如下页面,此时authpuppy的基本配置完成:
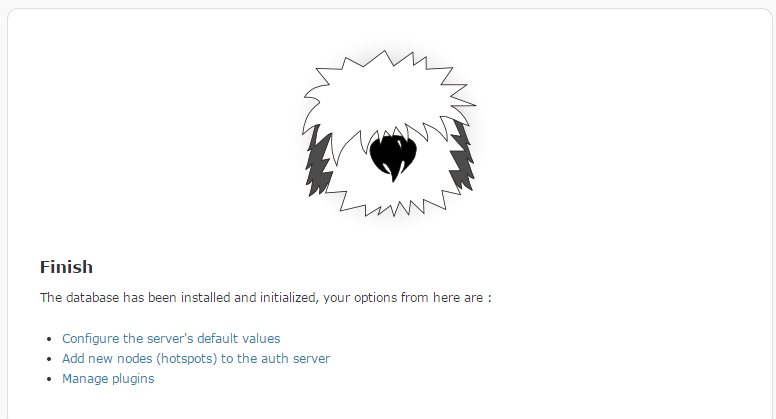
12、以后再次访问http://localhost,就会出现如下页面,不需要重新配置了:

本文章由 http://www.wifidog.pro/2015/02/26/wifidog-authpuppy%E5%AE%89%E8%A3%85-1.html 整理编辑,转载请注明出处