分类 服务器架设 下的文章

编写自己的WifiDog认证服务器

这次我使用的是php来编写auth_server服务器,因为这样比较简单。
1.首先是login.php

<?php
 include './tool/MySQLHelper.php';
 if (!empty($_GET["mac"])){
     $result = selectMacByToken($_GET["mac"]);
     if (!empty($result)){
         header("location: http://192.168.1.1:2060/wifidog/auth?token=".$result);
     }
     else {
         header("location: http://xxxxx/WelcomePage.php?mac=".$_GET["mac"]);
     }
 } else {
     header("location: http://xxxxx/WelcomePage.php?mac=".$_GET["mac"]);
 }
?> 

2.ping.php:

<?php echo "Pong"; ?>

这里没有做额外的处理,只是简单地向wifidog回应一个Pong。
3.auth.php

<?php // 后门
 if ($_GET["token"] == "123"){
     echo "Auth: 1";
     return;
 }
  if (!empty($_GET["token"]) && isset($_GET["token"])){
     //获取$result的过程//
     isValidate($result);
     //**后续处理**//
     return;
 } else if((!empty ($_GET["mac"])) && isset($_GET["mac"])){
     //**获取result*//
     $result = isSubscribeByMac($_GET["mac"]);
     isValidate($result);
     return; } else {
     echo "Auth: 0";
 }  
// 输出是否合法. 
function isValidate($result){
     if ($result == 1){
         echo "Auth: 1";
     }
     else {
         echo "Auth: 0";
     }
 }
 ?>

这里根据一些参数来获取$result,从而决定是否允许认证。
4.welcomePage.php以及Portal.html就不一一列举了。

本文章由 http://www.wifidog.pro/2015/02/28/wifidog%E8%AE%A4%E8%AF%81%E6%9C%8D%E5%8A%A1%E5%99%A8-3.html 整理编辑,转载请注明出处
Wifidog鉴权服务器wifidog-auth的搭建

原来已经配置好的apache2、python、trac系统
在/etc/apache2/sites-enabled下增加的新的配置文件(域名和对应的目录)

sudo /etc/init.d/apache2 restart

这是可以用新域名访问对应目录下index.php了,但无法执行php代码只能下载该文件

sudo apt-get install php5
sudo apt-get install libapache2-mod-php5 # 安装遇到麻烦
sudo apt-get install postgresql
sudo apt-get install php5-cgi php5-common php5-pgsql php-pear php5-xmlrpc php5-curl language-pack-en-base subversion
sudo pear install XML_RPC
wget http://sourceforge.net/projects/phlickr/files/Phlickr-0.2.5.tgz
sudo pear install Phlickr-0.2.5.tgz
sudo apt-get install openssh-server
sudo apt-get install postfix

选择"internet site with smart host",然后配置
svn checkout https:// dev.wifidog.org/svn/trunk/wifidog-auth #放到/var/www目录下

现在修改文件/var/www/wifidog-auth/wifidog/classes/Dependency.php,否则智能安装会失败

$sudo vim /var/www/wifidog-auth/wifidog/classes/Dependency.php

将第122行改为:'website' => "http://www.smarty.net/"
将第123行改为:'installSourceUrl' => http://www.smarty.net/files/Smarty-2.6.26.tar.gz

$sudo vim /var/www/wifidog-auth/wifidog/config.php

将define('DEFAULT_LANG', 'fr_CA');改为define('DEFAULT_LANG', 'en_US');

本文章由 http://www.wifidog.pro/2015/02/27/wifidog%E6%9C%8D%E5%8A%A1%E5%99%A8wifidog-auth%E5%AE%89%E8%A3%85.html 整理编辑,转载请注明出处

公共场所wifi认证解决方案wifidog+authpuppy(2)

二、 配置服务器和插件管理
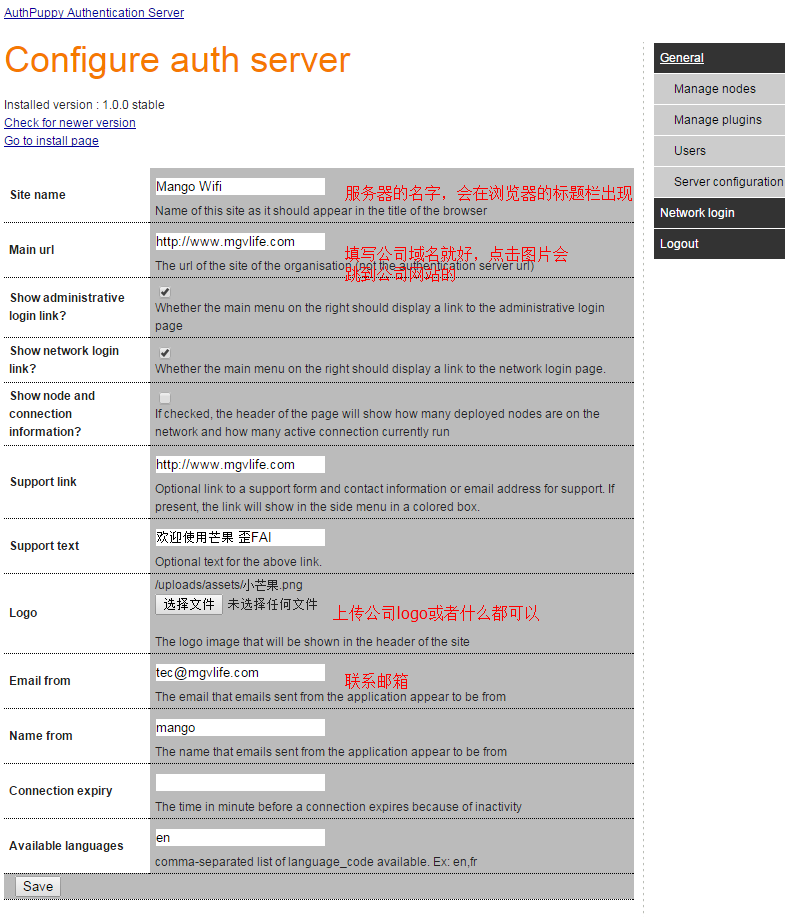
1、 访问http://localhost ,通过管理员账户登录,配置authserver
1.png

配置完成后再次访问http://localhost 就会出现如下界面
2.png

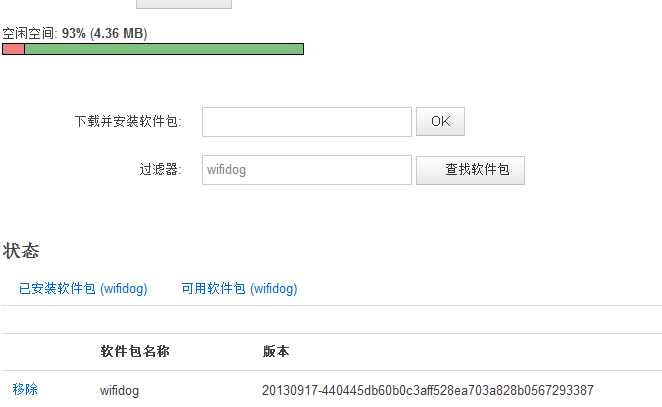
2、 点击Manageplugins,点击View all available plugins and updates添加插件,点击后发现无法跳转,原因应该是插件的网站被墙了,大家让服务器科学上网一下就可以了。
安装apAuthLocalUserPlugin这个插件,并启用,就可以对登录账号进行管理了,更多插件的使用可以自己慢慢摸索。
3.png

三、 配置网络结点和路由器认证
1、 访问http://localhost 以管理员身份登录,点击Managenodes进行结点的管理,服务器默认为我们创建了一个叫My first node的结点,我们对其进行编辑,修改Name :wifidog,gw id:123456,deployment status 选择Deployed

2、 配置路由器,路由器在编译openwrt固件的时候,makemenuconfig后,在Network–>Captive Portals中选择wifidog.这样在刷完固件后路由器就有wifidog插件了:
4.png

3、 通过命令行访问路由器,windows下可以使用putty登录,执行如下命令,启动wifidog

/etc/init.d/wifidogenable
/etc/init.d/wifidog start

此时会报错,因为此时还没配置好服务器的信息。
4、 编辑/etc/wifidog.conf,window用户如果不会用vi等编辑器,可以使用winscp软件访问并修改,需要配置的主要有三项:

#这个需要与服务器中gw id相对应
GatewayID 123456
#查看自己的路由器进行配置,外网接口
ExternalInterfaceeth0.2
#路由器内网接口
GatewayInterface br-lan
#服务器配置
AuthServer {
    #服务器的ip地址
    Hostname192.168.0.224
    SSLAvailable yes
    Path /
}

5、 重启wifidog,连接该无线网络,开始验证。

四、wifidog的认证需要https的,于是开始安装https服务
1、 安装ssl

sudo apt-get install apache2

複製代碼
2、 开启ssl

sudo a2enmod ssl

複製代碼
3、 重启apache

sudo service apache2 restart

複製代碼
4、 创建一个ssl目录

sudo mkdir /etc/apache2/ssl

複製代碼
5、 创建一个自己认证的证书

sudo openssl req -x509 -nodes -days 3650 -newkey rsa:2048 -keyout /etc/apache2/ssl/apache.key -out /etc/apache2/ssl/apache.crt

複製代碼
输入信息得到:/etc/apache2/ssl/apache.key
7、 配置证书

sudo gedit /etc/apache2/sites-available/default-ssl.conf

複製代碼
8、 在ServerAdmin下添加一行,服务器域名或者ip地址

ServerName 127.0.1.1:443
ServerAlias authpuppy.test<span style="line-height: 1.5; background-color: rgb(255, 255, 255);">                          </span>

複製代碼
并修改如下内容:

SSLEngine on
SSLCertificateFile /etc/apache2/ssl/apache.crt
SSLCertificateKeyFile /etc/apache2/ssl/apache.key

複製代碼
9、 开启ssl并重启apache

sudo a2ensite default-ssl
sudo service apache2 reload

複製代碼
10、 此时访问https://localhost 可以访问,但是localhost下的其他路径时404错误
修改/etc/apache2/sites-enabled/default-ssl.conf 添加443虚拟目录

<VirtualHost *:443>
        DocumentRoot /var/www/html/authpuppy/web
        ServerName authpuppy.localhost
        SSLEngine on
        SSLCertificateFile /etc/apache2/ssl/apache.crt
        SSLCertificateKeyFile /etc/apache2/ssl/apache.key

        DocumentRoot /var/www/html/authpuppy/web
        DirectoryIndex index.php
        <Directory /var/www/html/authpuppy/web/>
               Options Indexes FollowSymLinks MultiViews
               AllowOverride All
               Order allow,deny
               allow from all
        </Directory>
</VirtualHost>

本文章由 http://www.wifidog.pro/2015/02/26/wifidog-authpuppy%E5%AE%89%E8%A3%85-2.html整理编辑,转载请注明出处

公共场所wifi认证解决方案wifidog+authpuppy(1)

服务器:ubuntu 14.04 + authpuppy
路由器:MERCURY MW4530R + wifidog

一、安装authpuppy服务端验证
1、 安装php开发环境:

sudo apt-get install apache2 php5-mysql libapache2-mod-php5 mysql-server

2、 启用apache rewrite,否则会出现(Therequested URL /install/3 was not found on this server.)错误

sudo a2enmod rewrite

3、 到https://launchpad.net/authpuppy 下载最新源码authpuppy-1.0.0-stable,解压并剪切到/var/www/html/authpuppy目录

sudo mv authpuppy /var/www/html/authpuppy

4、 为authpuppy赋予权限

chmod 777 /var/www/html/authpuppy/ -R

5、 修改/etc/apache2/sites-enabled/000-default.conf替换所有内容

sudo gedit /etc/apache2/sites-enabled/000-default.conf

如下:

<VirtualHost *:80>
       ServerAdmin webmaster@localhost
       ServerName authpuppy.localhost
       ServerAlias authpuppy.test

       DocumentRoot /var/www/html/authpuppy/web
       DirectoryIndex index.php
       <Directory /var/www/html/authpuppy/web/>
               Options Indexes FollowSymLinks MultiViews
               AllowOverride All
               Order allow,deny
               allow from all
       </Directory>

       Alias /sf /var/www/html/authpuppy/lib/vendor/symfony/data/web/sf
       <Directory "/var/www/html/authpuppy/lib/vendor/symfony/data/web/sf">
               AllowOverride All
               Allow from All
       </Directory>

       #ErrorLog /var/log/apache2/authpuppy/error.log

       # Possible values include: debug, info, notice, warn, error, crit,
       # alert, emerg.
       LogLevel warn

       #CustomLog /var/log/apache2/authpuppy/access.log combined

  </VirtualHost>

6、 重启apache

sudo service apache2 restart

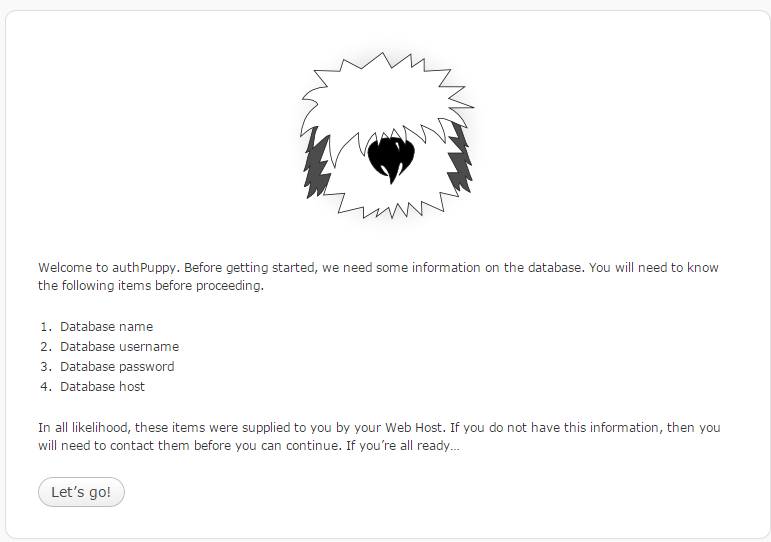
7、访问http://localhost 出现authpuppy配置页面
1.png

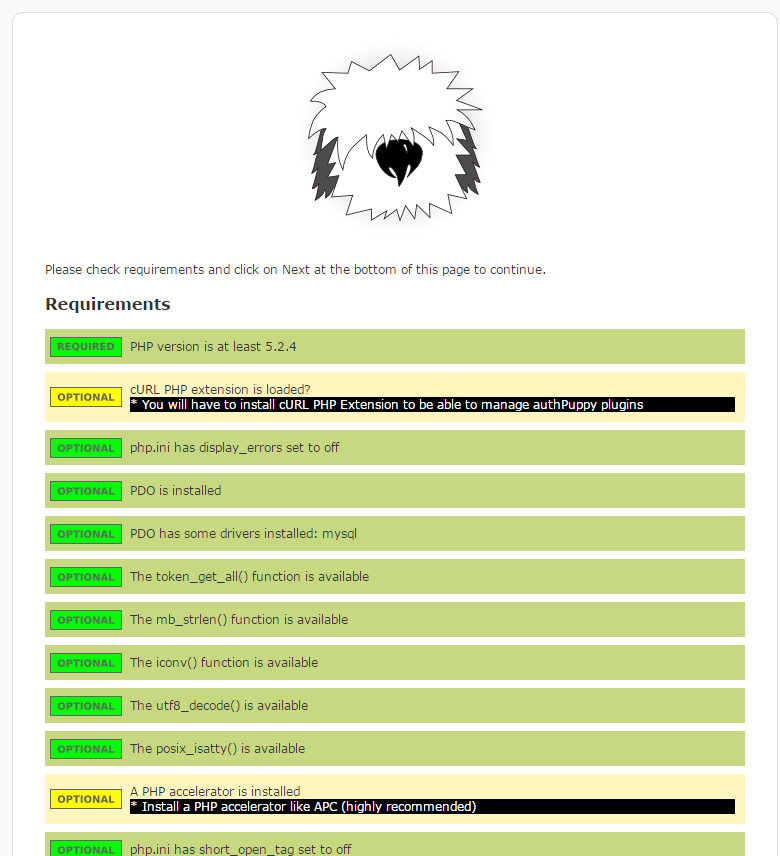
8、 点击下一步继续,这一步会检测系统的环境是否满足authpuppy的要求,不满足的会显示红色,按要求配置好就可以点击下一步了。
2.png

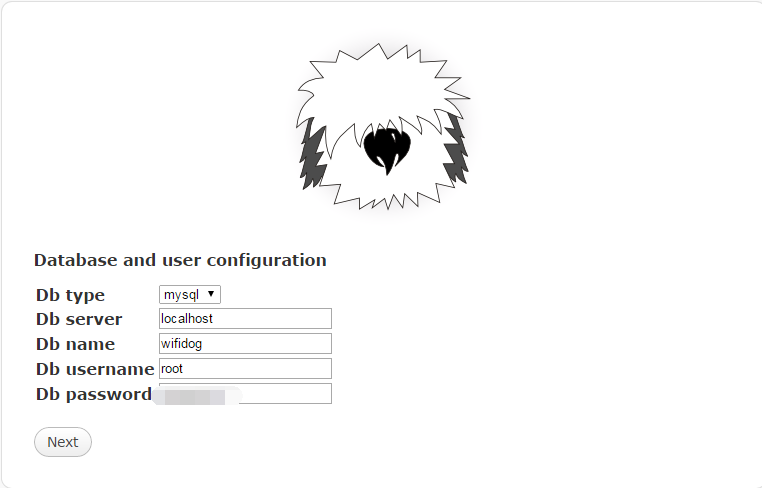
9、创建数据库wifidog,并填写数据库名字、账号密码等信息,此处为了方便,使用root登录,读者可以新建一个user用于访问。
3.png

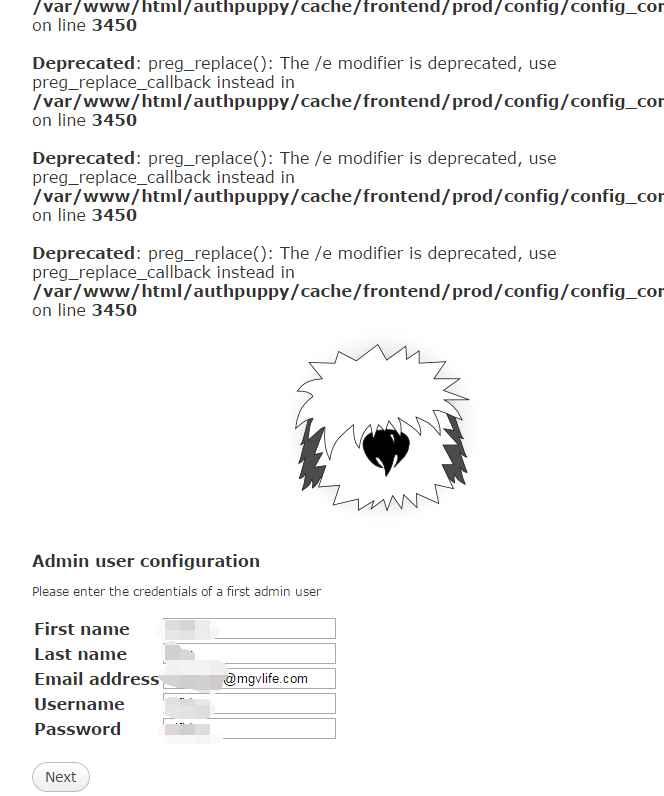
10、一直点击下一步,直到出现管理员用户配置页面,配置用户信息:
4.png

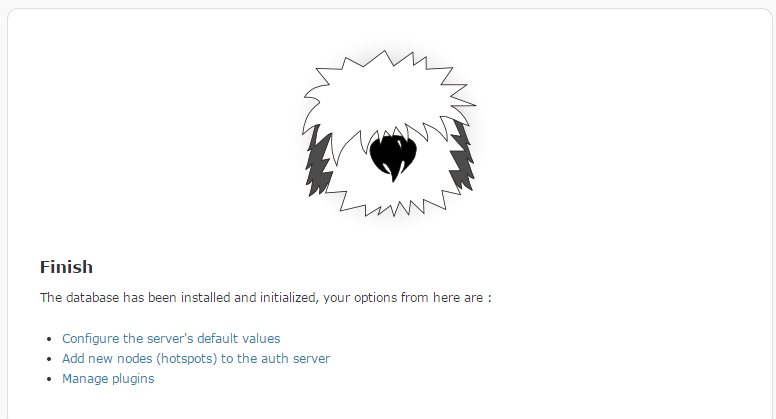
11、 最后配置成功,出现如下页面,此时authpuppy的基本配置完成:
5.png

12、以后再次访问http://localhost,就会出现如下页面,不需要重新配置了:
6.png

本文章由 http://www.wifidog.pro/2015/02/26/wifidog-authpuppy%E5%AE%89%E8%A3%85-1.html 整理编辑,转载请注明出处